What's new, and when
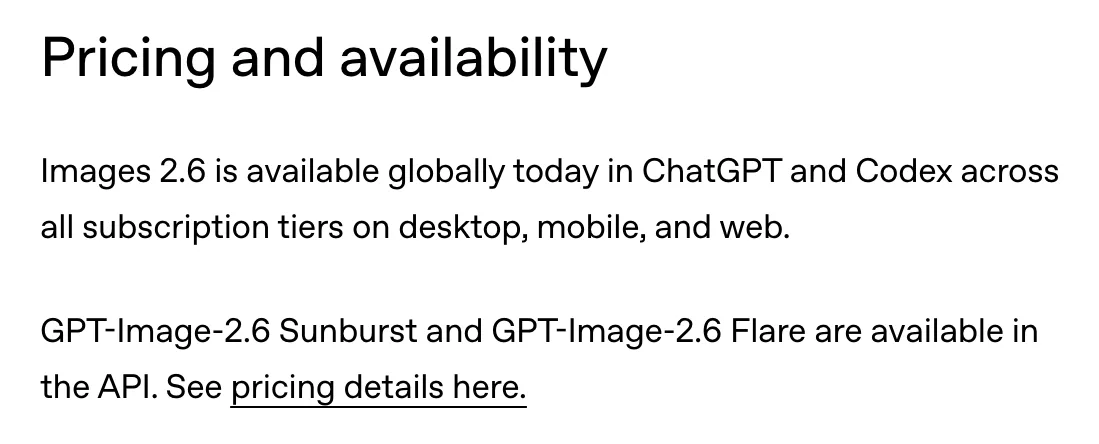
OpenAI released Images 2.6 on 04/11/2026. It's in ChatGPT on every plan, worldwide, on your computer and your phone. That includes Australia and the Free plan.
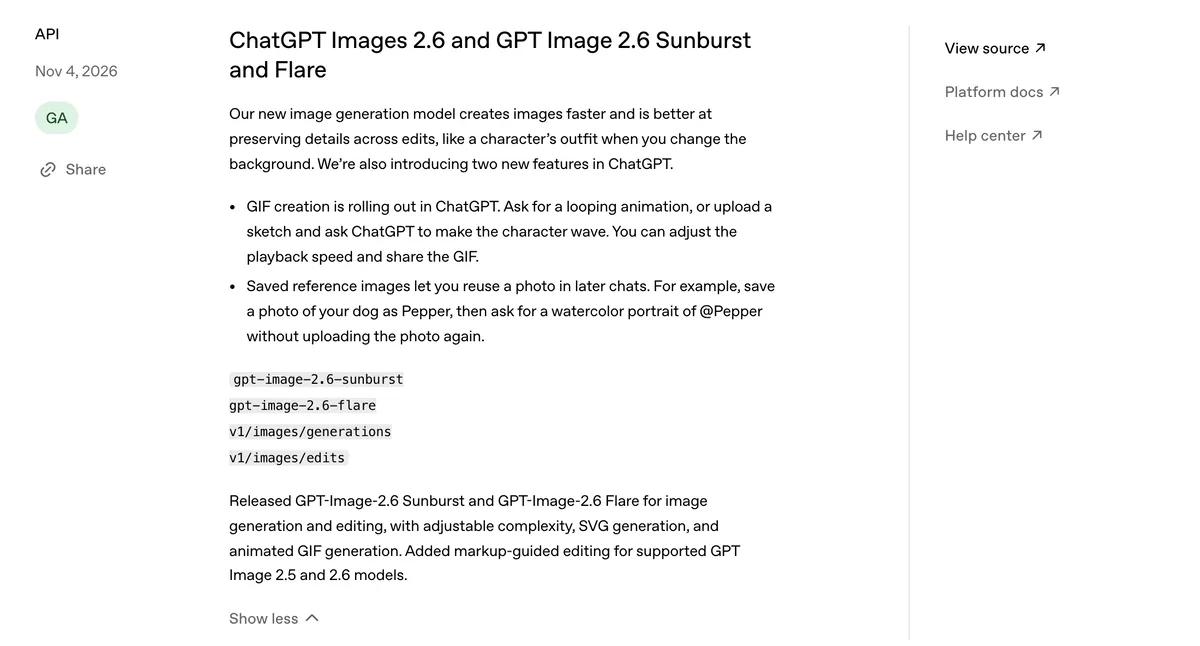
| Feature | Where it lives | Status |
|---|---|---|
| Saved photos with @name | ChatGPT | New on 04/11/2026 |
| GIFs | ChatGPT | Rolling out. Some accounts don't have it yet. |
| SVG logos and icons | OpenAI's API (the developer side). Not a button in ChatGPT. | New on 04/11/2026 |
| Markup editing | ChatGPT already had it (the Select tool). New in the API. | In the API from 04/11/2026 |
The API is the developer side of OpenAI. You pay per image and send requests with a little bit of code instead of typing in a chat box. Lesson 3 shows you how to use it without writing the code yourself.
Save a photo under an @name
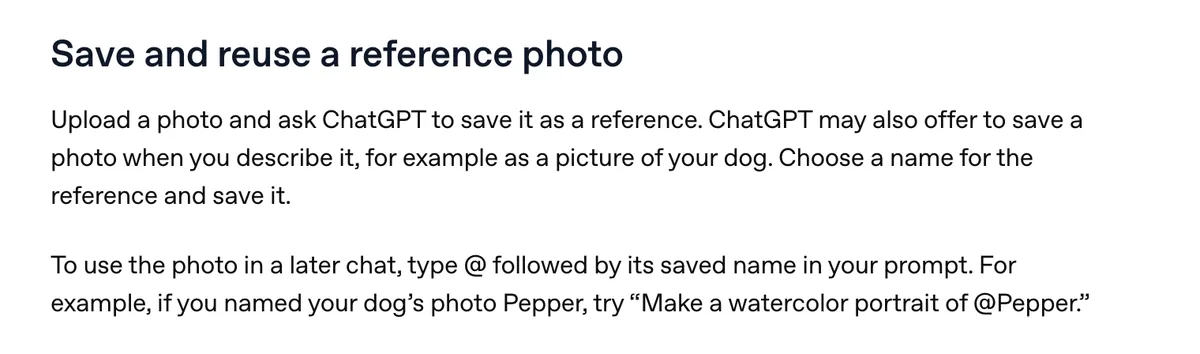
You upload a photo once and give it a name. In any later chat, you type @ and that name, and ChatGPT uses the photo. No re-uploading. This is the one I'd set up first, because every other lesson gets easier once it's done.
Pick the photo
For you: a recent photo, face clear and facing the camera, good daylight, no sunglasses, just you in it. For a product: the whole product, label readable, on a plain background.
Open ChatGPT and start a new chat
Use chatgpt.com on your computer or the ChatGPT app on your phone. Add the photo to the message box the way you normally add a photo.
Ask ChatGPT to save it
Paste this with the photo, swapping the name in brackets. Pick a short, one-word name. You'll be typing it a lot.
OpenAI's steps from here: choose a name for the reference, then save it. Check it's the name you want before you save.
Test it in a fresh chat
Start a new chat and type @ followed by the name you saved, then what you want. OpenAI's example is "Make a watercolor portrait of @Pepper", where Pepper is a dog.
Only save photos you're allowed to use
Yourself, people who've said yes, and products you own or sell. OpenAI's own image guide says the same: when you show a real person, confirm you have permission to use their likeness.
5 prompts for on-brand photos
Each prompt uses @YourName or @YourProduct. Paste the prompt, delete that placeholder, then type @ and your saved name yourself. OpenAI's help page says to type the @, so type that bit rather than pasting it. Anything in [square brackets] is yours to change.
Bonus: you and your product in one photo
OpenAI's examples only use one saved name per prompt. If this mixes the two up, upload the product photo in the same message instead of using @YourProduct.
How consistent is it, really?
OpenAI says Images 2.6 is "better at preserving details across edits". Better isn't the same as perfect. Its developer guide still says the model "may occasionally struggle to maintain visual consistency for recurring characters or brand elements". Check every face and every label before you post. If one's off, the fix is in Get unstuck.
Make a GIF
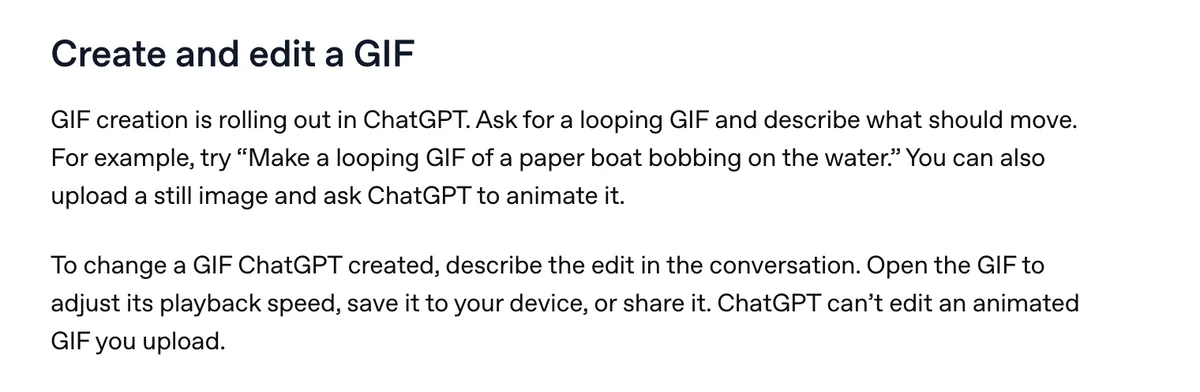
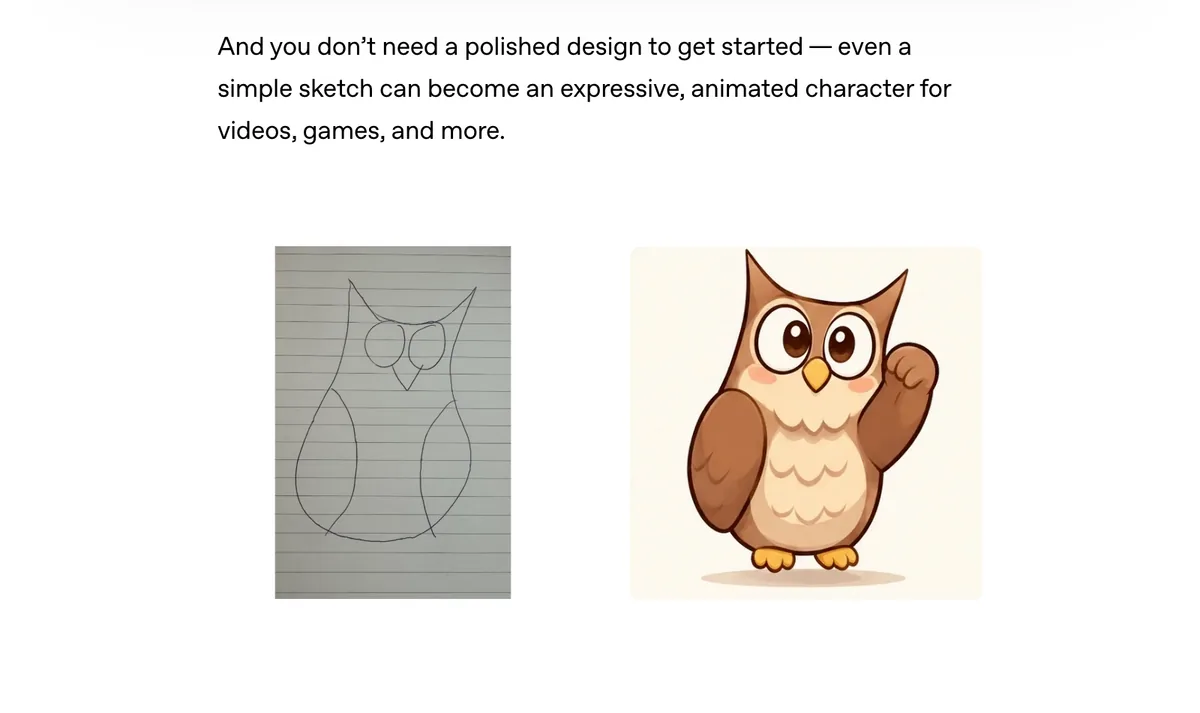
Ask for a looping animation, or upload a still image or a sketch and ask ChatGPT to make it move. OpenAI says GIF creation is rolling out, so it may not be on your account yet. If it isn't, do lessons 3 and 4 and check back.
Ask for a looping GIF
Say "looping GIF" and describe what moves. OpenAI's example: "Make a looping GIF of a paper boat bobbing on the water." To animate your own logo, product or sketch, add the image to the message first.
Open the GIF to set the speed
Click it on your computer, or tap it on your phone. That's where OpenAI puts the playback speed control, plus Save and Share.
Change it in the same chat
Describe the edit ("slower", "make the wave bigger", "cream background"). ChatGPT can't edit an animated GIF you upload, so keep working in the chat where it made the GIF.
Save it and use it
Save it to your device. Canva takes GIF uploads, so you can drop it straight into a design.
4 GIF prompts
For the mascot, draw it on paper, take a photo and add the photo to the message.
For the reaction GIF, save your mascot first with lesson 1, as YourMascot or whatever you call it.
SVG logos and icons
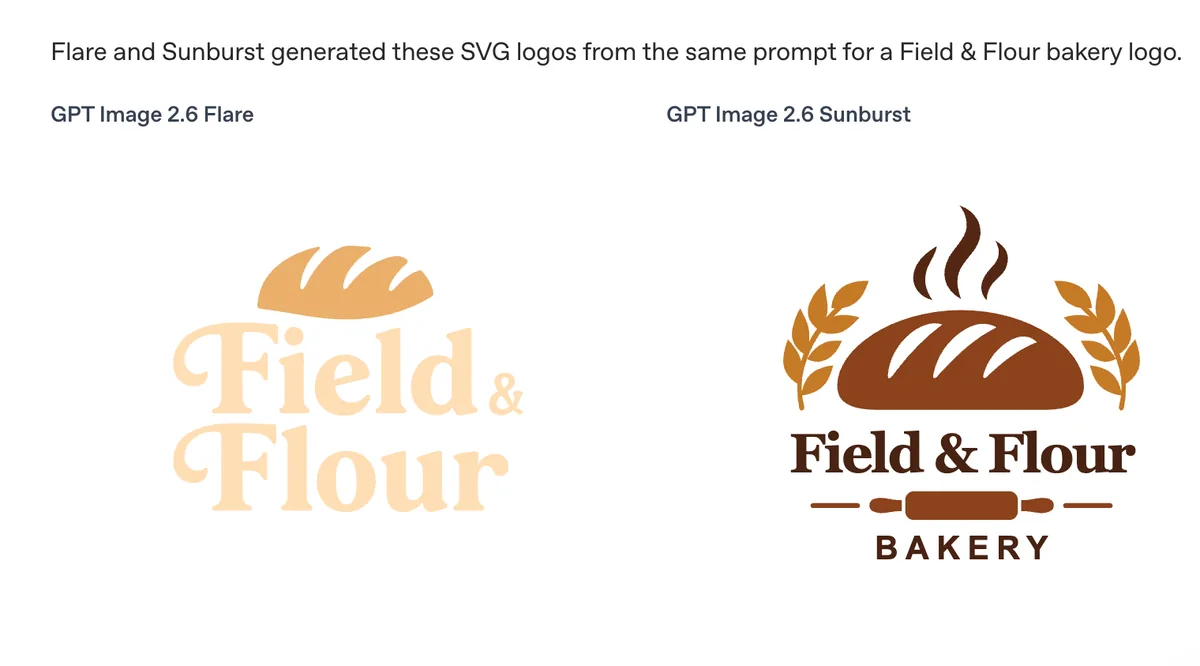
An SVG is a logo file made of shapes instead of pixels, so it stays sharp at any size, from a website tab to a banner. Canva calls it "great for web graphics".
The catch
SVG output is in OpenAI's API, not in the ChatGPT app. OpenAI lists it under "More ways to create and edit in the API", and its developer guide puts it on the Image API. There's no SVG button in ChatGPT as at 09/11/2026. So there are two ways to do this lesson.
Way 1: a clean logo from ChatGPT (no setup)
You get a PNG with a transparent background, not an SVG. For Canva, social posts and slides, a big transparent PNG does the job. You can also start from a template: open the sidebar, select Images, then Templates. OpenAI gives a logo as one example of what a template can make.
When it's done, open the image and select Save. In Canva, open Uploads in the editor and upload the file.
Way 2: a real SVG file, made through the API
This one has a one-time setup, needs at least US$5 of OpenAI credit, and runs in Claude Code (Pro plan or higher) or the Codex app. Never used Claude Code? Lessons 1 to 3 of my free editing course get it open in a folder. You won't write any code. Claude does that part.
Show me the Way 2 setup
Add credit to OpenAI's developer side
Sign in at platform.openai.com and open the billing overview. Select Add payment details and choose an amount. The minimum is US$5. Use auto-reload is on by default, so turn it off unless you want it topping up your card. Credits expire after a year.
Make an API key
On the API keys page, create a new secret key and copy it. Treat it like a password.
Verify if OpenAI asks
OpenAI's guide says you may need to verify your organisation before you can use its image models. If it asks, it may want a government photo ID (passport or driver's licence), a selfie or your business details.
Make a Logo Lab folder and open it in Claude Code
Make a folder called Logo Lab in Documents. Open it in Claude Code (choose Local) or in the Codex app, then paste this:
After this, you only paste the prompts below into the same chat. Each one makes a file in your Logos folder.
4 SVG prompts (Way 2)
Use your SVG in Canva or on your website
- Canva: in the editor, open Uploads and upload the .svg. Canva's rules: under 3 MB, saved as SVG 1.1, and no gradients or textures. The prompts above already ask for flat colours.
- Your website: upload the .svg where your site builder asks for a logo, or send it to whoever looks after your site. If your builder won't take SVG files, make a PNG copy with this:
Mark up an image to fix one spot
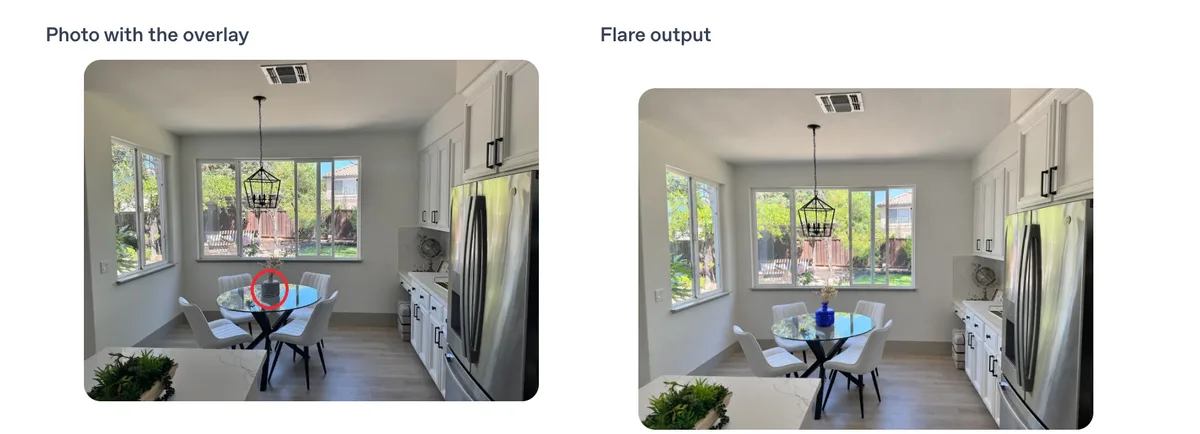
You highlight the bit you want changed, then say what to change. Everything else should stay put. OpenAI calls this image markup and says it was "already available in ChatGPT" before this update. What's new on 04/11/2026 is that developers got it in the API too.
On your computer
- Select an image in your chat, or in Images in the sidebar. The editor opens.
- Select Select and highlight the area you want to change.
- Undo or Redo to fix your highlight, or Cancel to start over.
- Describe the change, then select Save when you're finished.
On your phone
- Tap an image ChatGPT made to open it full-screen.
- Tap Select and highlight the area. The slider changes the size of the selection tool.
- Tap Next.
- Describe the change in the conversation panel.
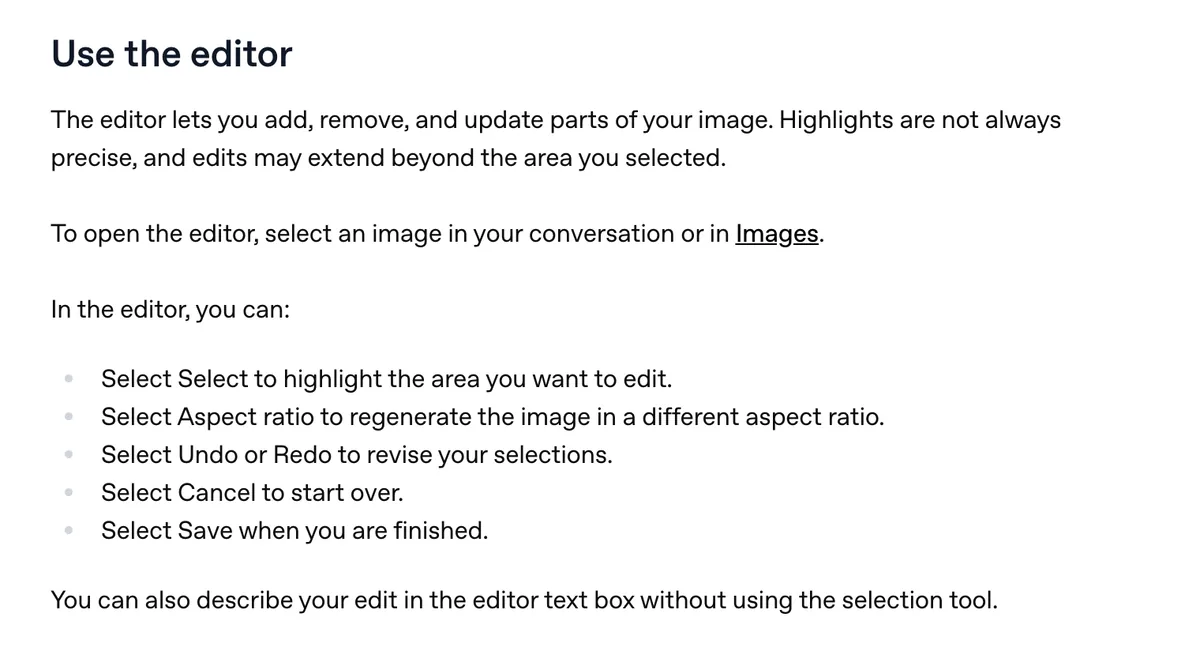
OpenAI's own warning: "Highlights are not always precise, and edits may extend beyond the area you selected." So every edit below says what must stay the same.
3 example edits
Highlight the area first, then paste the matching prompt.
For developers: markup in the API
In the API, markup is a separate transparent PNG with your circles or scribbles on it, the same width and height as the original image. It goes to the image edit endpoint as markup, with supported GPT Image 2.5 and 2.6 models. Don't combine it with a mask. OpenAI charges the same as any other edit, with no extra fee.
Your brand kit in 20 minutes
This puts lessons 1 to 4 together. About 20 minutes of your time, plus waiting while images generate. OpenAI says an image can take a few minutes, and you can keep chatting while it works. Do it all in one chat, and make a Brand kit folder on your computer for the downloads.
Brief ChatGPT on your brand (2 minutes)
Fill in the brackets and paste this first:
Save @YourName and @YourProduct (3 minutes)
Lesson 1, steps 1 to 3. Skip any you've already saved.
Make your logo (4 minutes)
Use the Way 1 prompt from lesson 3. If a letter comes out wrong, fix it with edit 2 from lesson 4.
Two photos of you (4 minutes)
Lesson 1, prompts 1 and 2.
Two product photos (4 minutes)
Lesson 1, prompts 4 and 5.
One GIF (3 minutes)
Lesson 2, prompt 1: your new logo, looping. If GIFs aren't on your account yet, leave this one for later.
To download each image, open it and select Save. Everything you make is also kept under Images in ChatGPT. Give the files plain names like logo-teal.png and headshot-blazer.png.
Check it before you post
What it costs, by plan
OpenAI says Images 2.6 is "available globally" in ChatGPT across all subscription tiers. Every plan gets image creation. The difference is how much.
| Plan | Price | Images, in OpenAI's words |
|---|---|---|
| Free | A$0 | Limited image creation |
| Go | A$13 a month | More image creation |
| Plus | A$30 a month | More complex and accurate image creation |
| Pro | From A$155 a month | Unlimited and faster image creation (subject to abuse guardrails) |
- Saved photos (@name): OpenAI hasn't said whether this differs by plan.
- GIFs: rolling out. OpenAI hasn't named which plans get it first.
- SVG through the API: pay as you go, in US dollars, from a US$5 minimum top-up. Image output is US$30 per million tokens. An SVG also pays for the tokens used to write the file, so check your balance after your first few. Way 2 also needs Claude Code (Claude Pro is US$20 a month) or the Codex app.
My take: start on the plan you've already got. Free is enough to test lessons 1, 2 and 4. If you hit the image limit halfway through your brand kit, that's when Go or Plus earns its keep.
Get unstuck
Open the problem that matches yours. Where there's a prompt, paste it into the same chat.
I don't have GIFs yet
OpenAI is rolling GIFs out, so some accounts get them later. Update the ChatGPT app on your phone and try chatgpt.com on your computer too. If you still get a still image back, it hasn't reached your account yet.
Typing @ and my name doesn't bring up my photo
Type the @ and the name yourself instead of pasting them, and check you're using the exact name you saved. Still nothing? Start a new chat, upload the photo again and ask ChatGPT to save it as a reference.
The face doesn't look like me
If that doesn't fix it, save a clearer photo: front-on, good daylight, nothing covering your face.
My product's label is wrong
Highlight the label with the Select tool (lesson 4) and paste this:
The edit changed more than I highlighted
OpenAI says highlights aren't always precise. Undo, highlight a smaller area, then name what has to stay:
ChatGPT won't edit the GIF I uploaded
That's expected. OpenAI says ChatGPT can't edit an animated GIF you upload. Upload a still image of it instead, or go back to the chat where ChatGPT made the GIF and ask for the change there.
make_svg gives me an error
An error mentioning credit_balance_exhausted means you're out of credit. Top up in the billing overview. If it mentions verification, that's lesson 3, step 3.
Canva won't take my SVG
I want to delete a saved photo
OpenAI's help page doesn't explain this yet (checked 09/11/2026). Photos saved for shopping try-ons live in Settings, then Personalization, then Reference photos, so look there first. If yours isn't there, ask ChatGPT: "How do I delete my saved reference called [name]?"
Want help using this in your business?
My membership is where we build this stuff together.
Three live calls a month: one live build with me, and two co-work and Q&A calls. All recorded. Plus 250+ lessons and resources.
Use this walkthrough to make your first brand kit, then bring what you made to a call.
Join the membership →Already a member? Bring your brand kit to the next co-work call.